Gate Opener Installation in Smyrna, GA
The convenience of an automatic gate opener is undeniable. No more hopping out of the car on a rainy day to swing open the gate! But before you imagine professionals swarming your driveway, consider a DIY motor installation. With the right tools and knowledge, you can transform your gate into a modern marvel.
Schedule An Appointment
Choosing Your Motorized Match
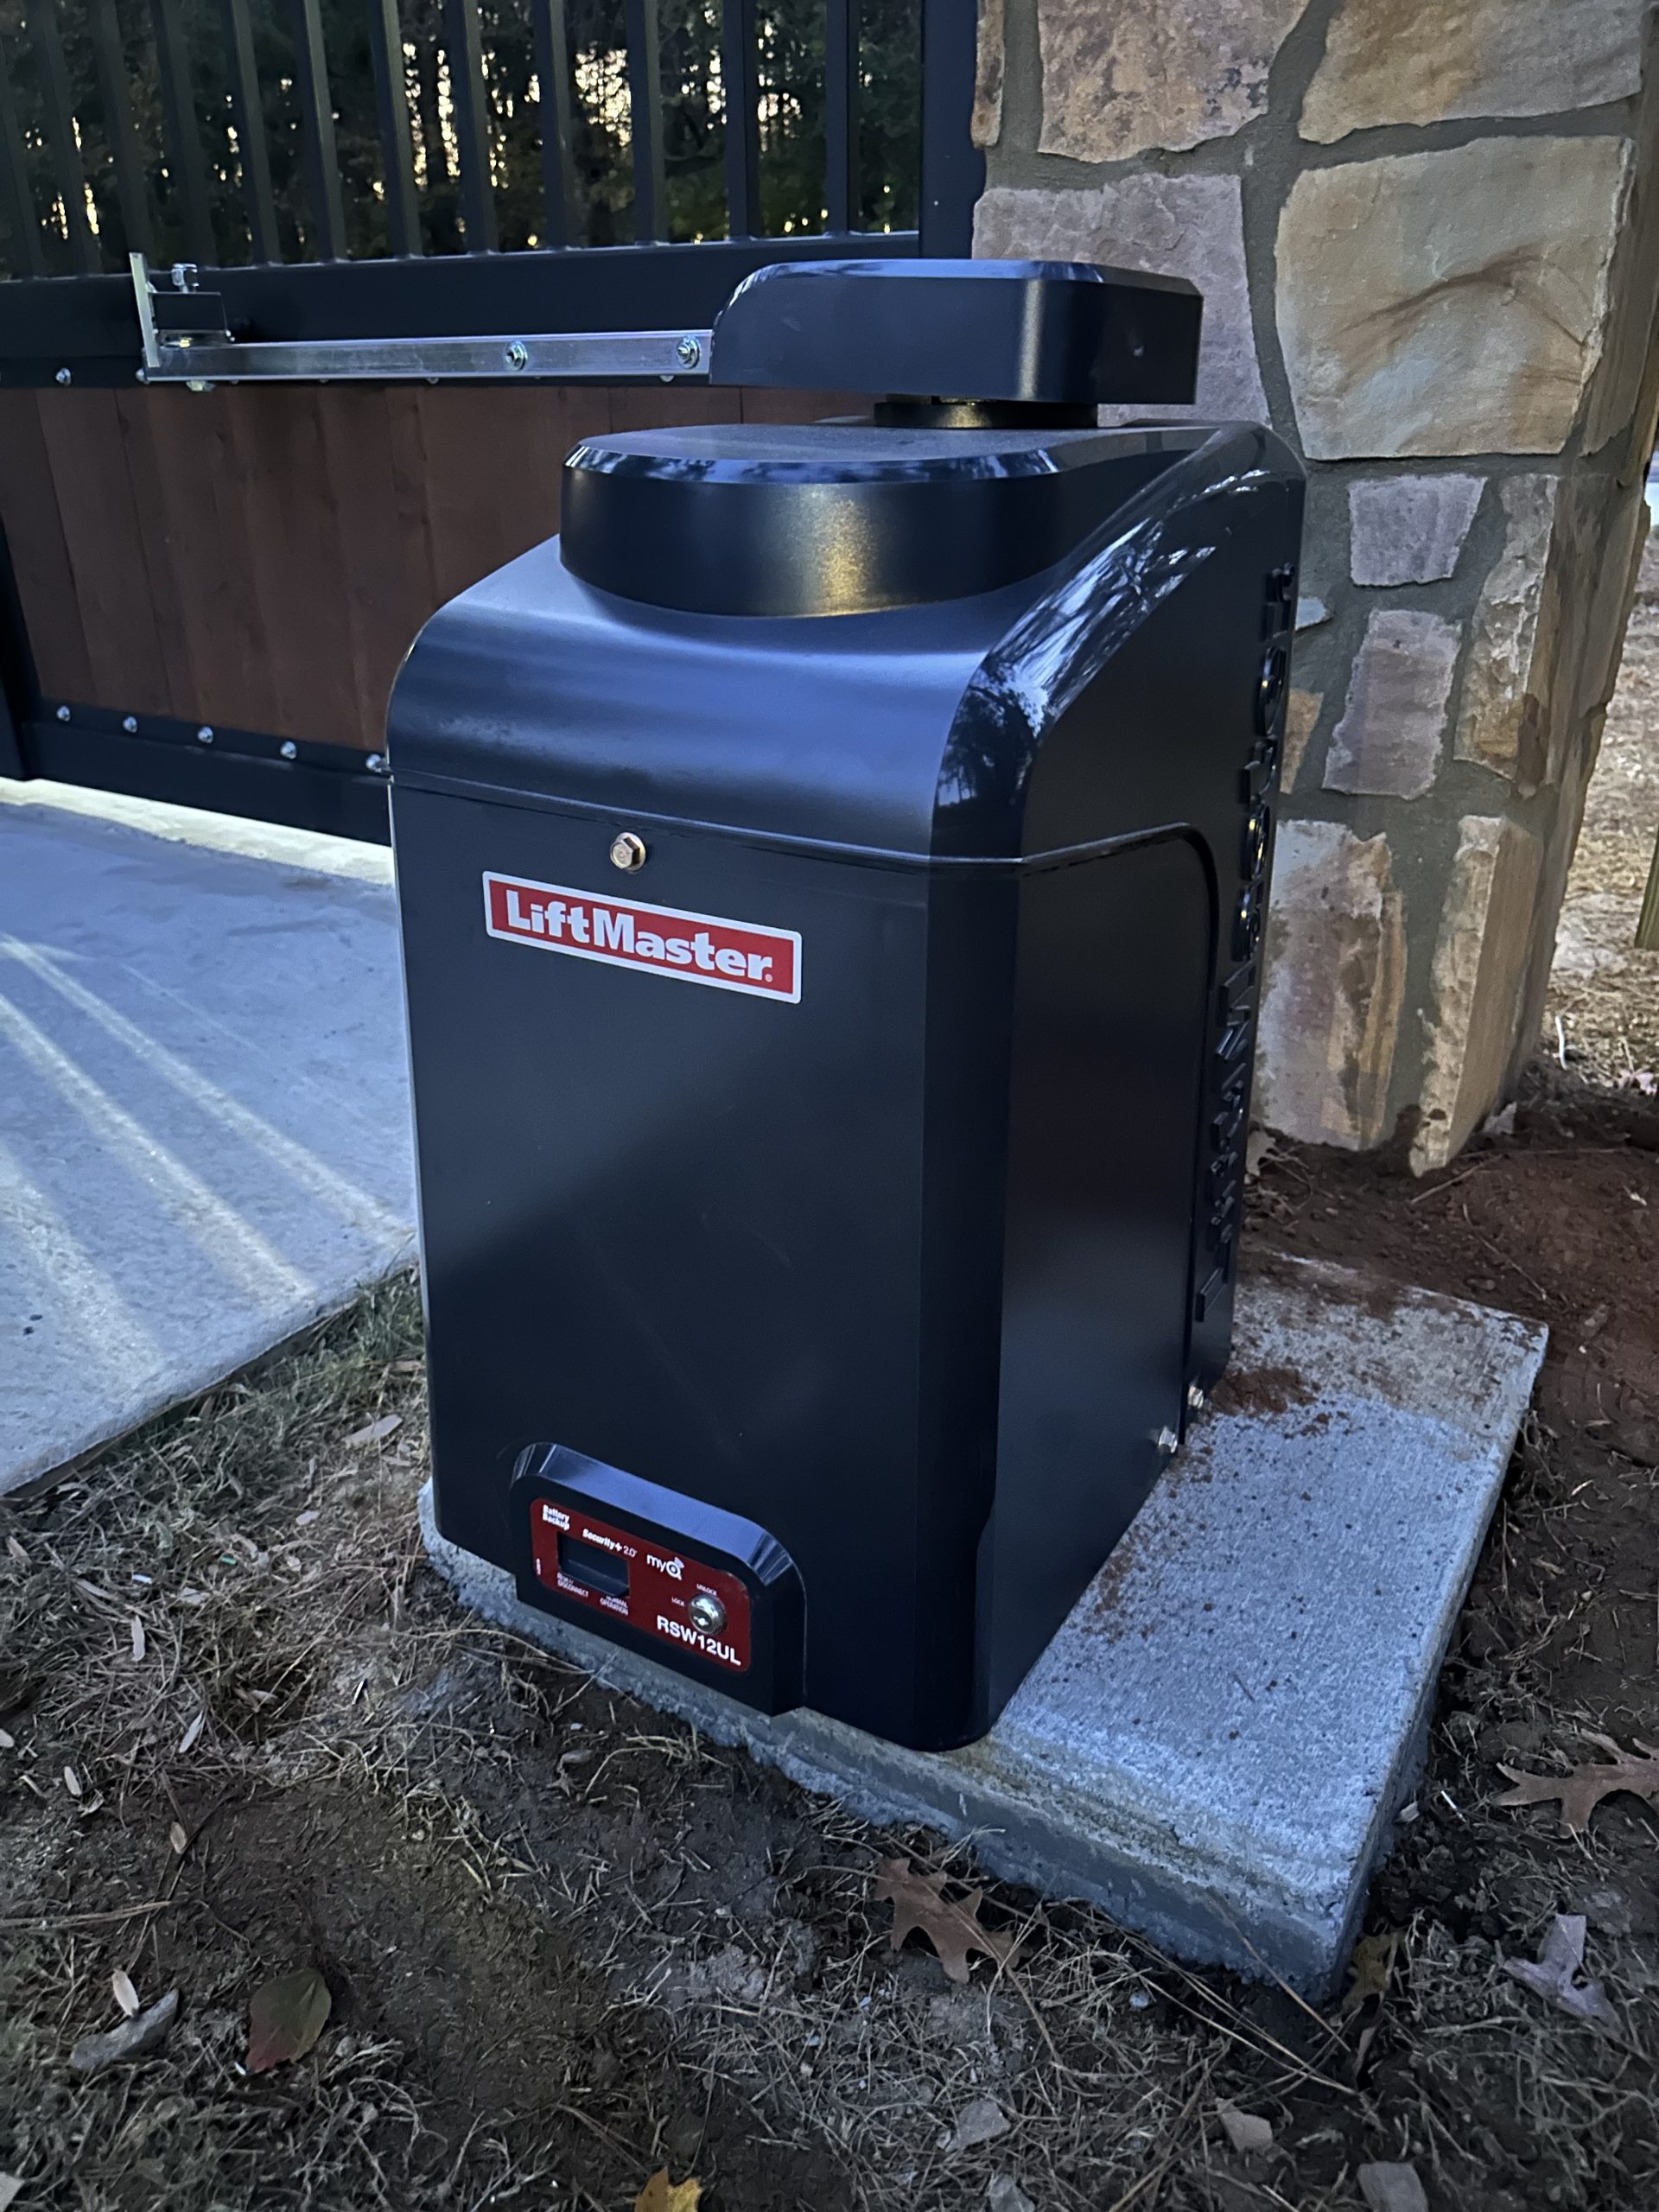
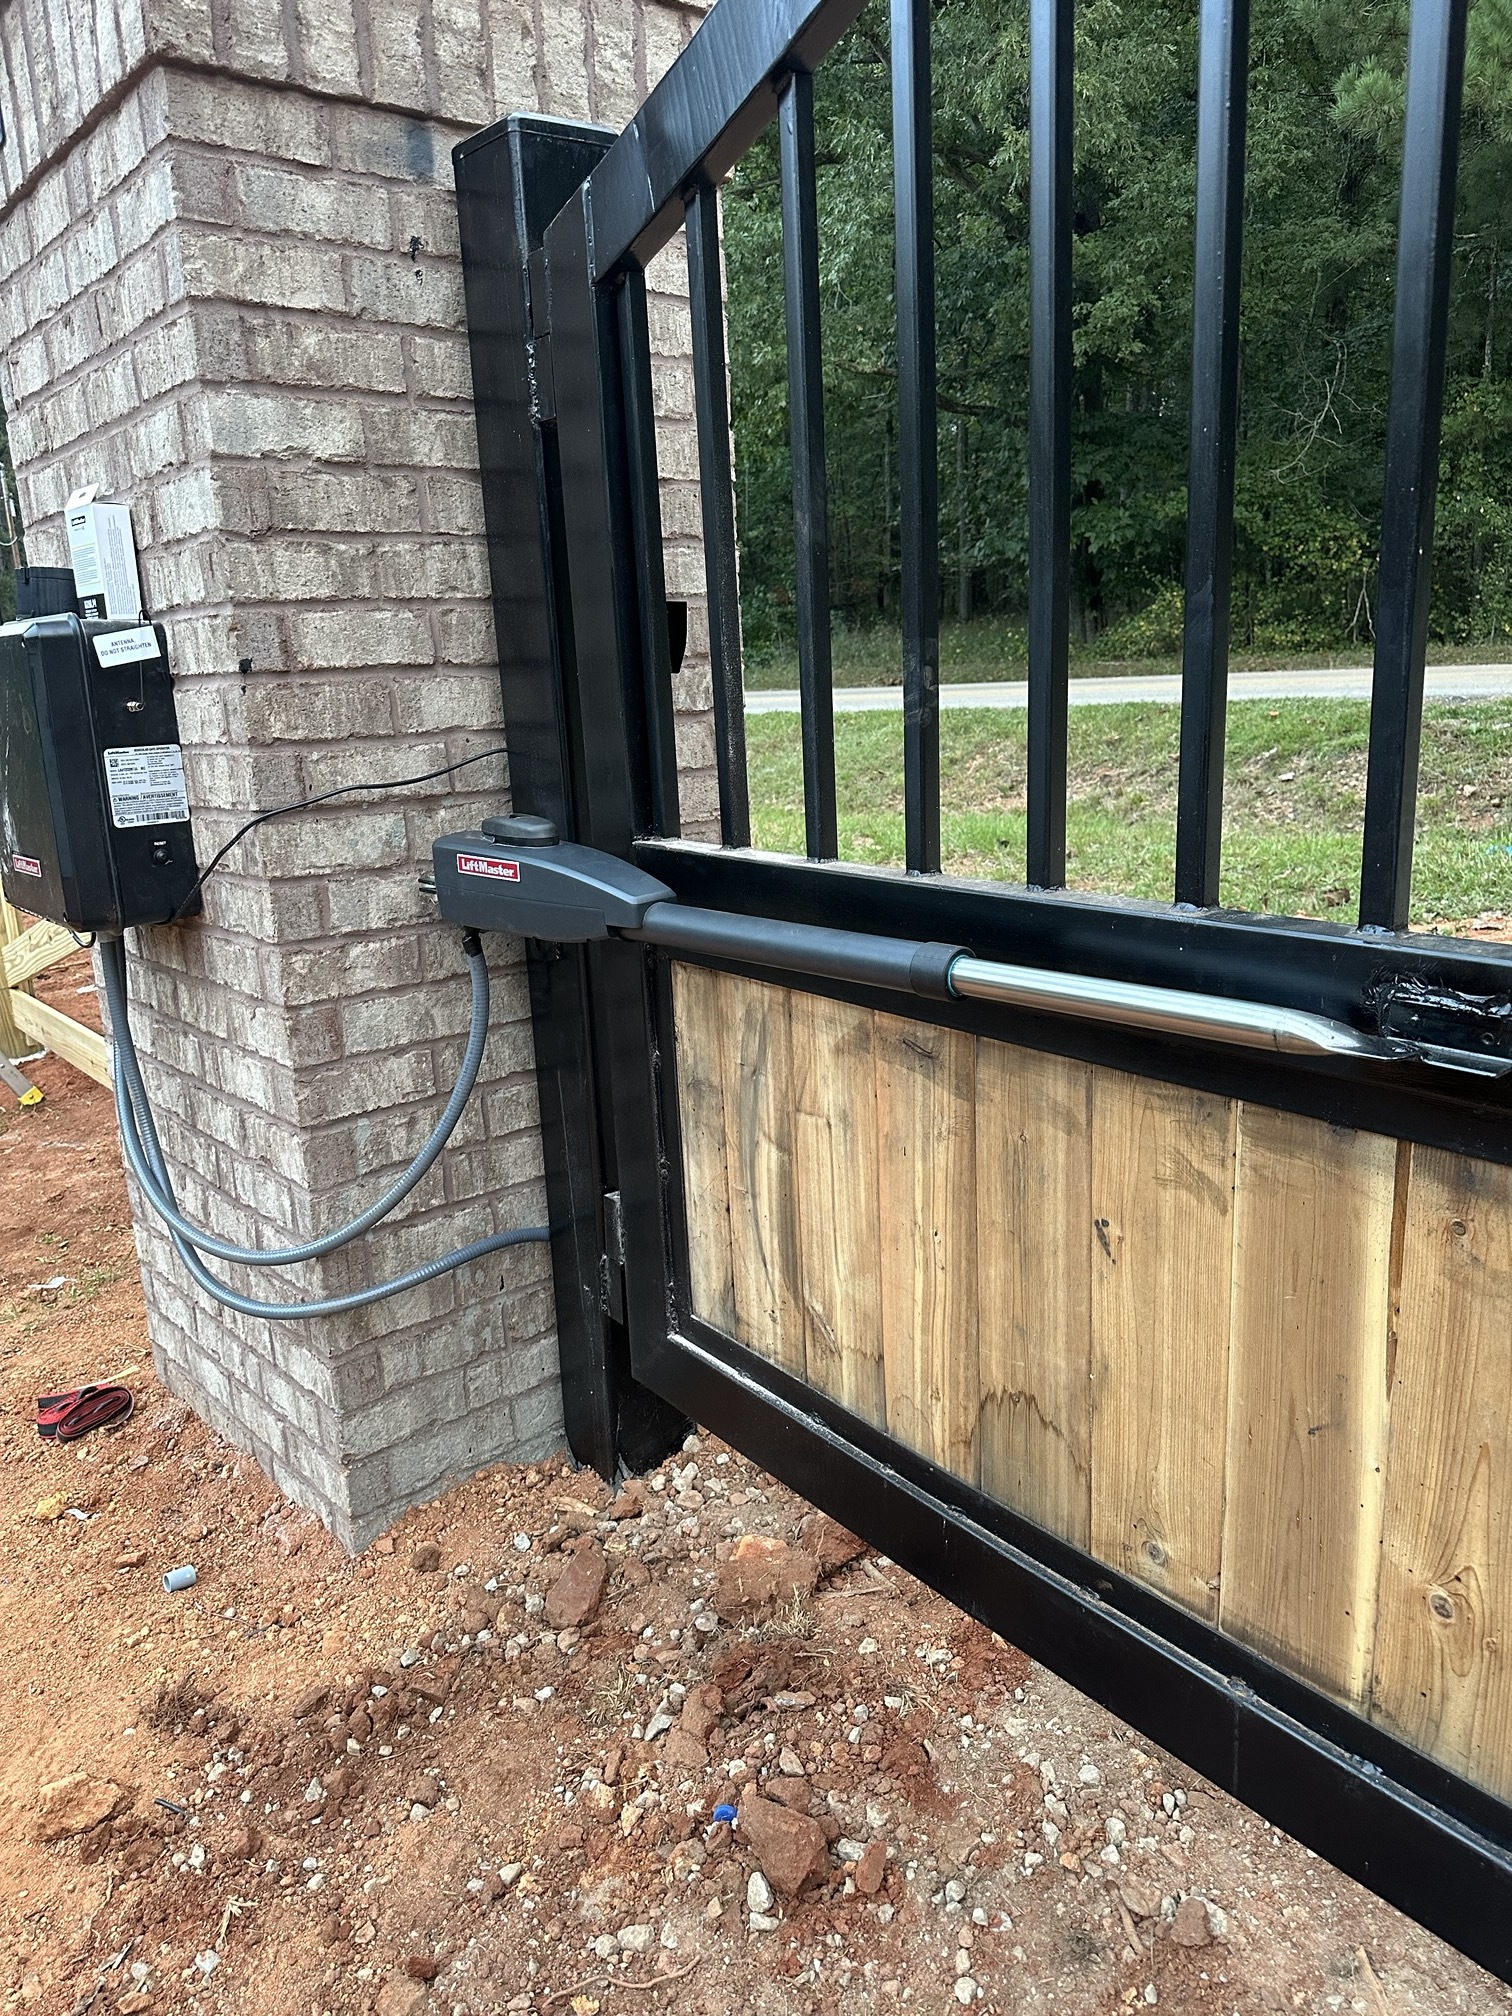
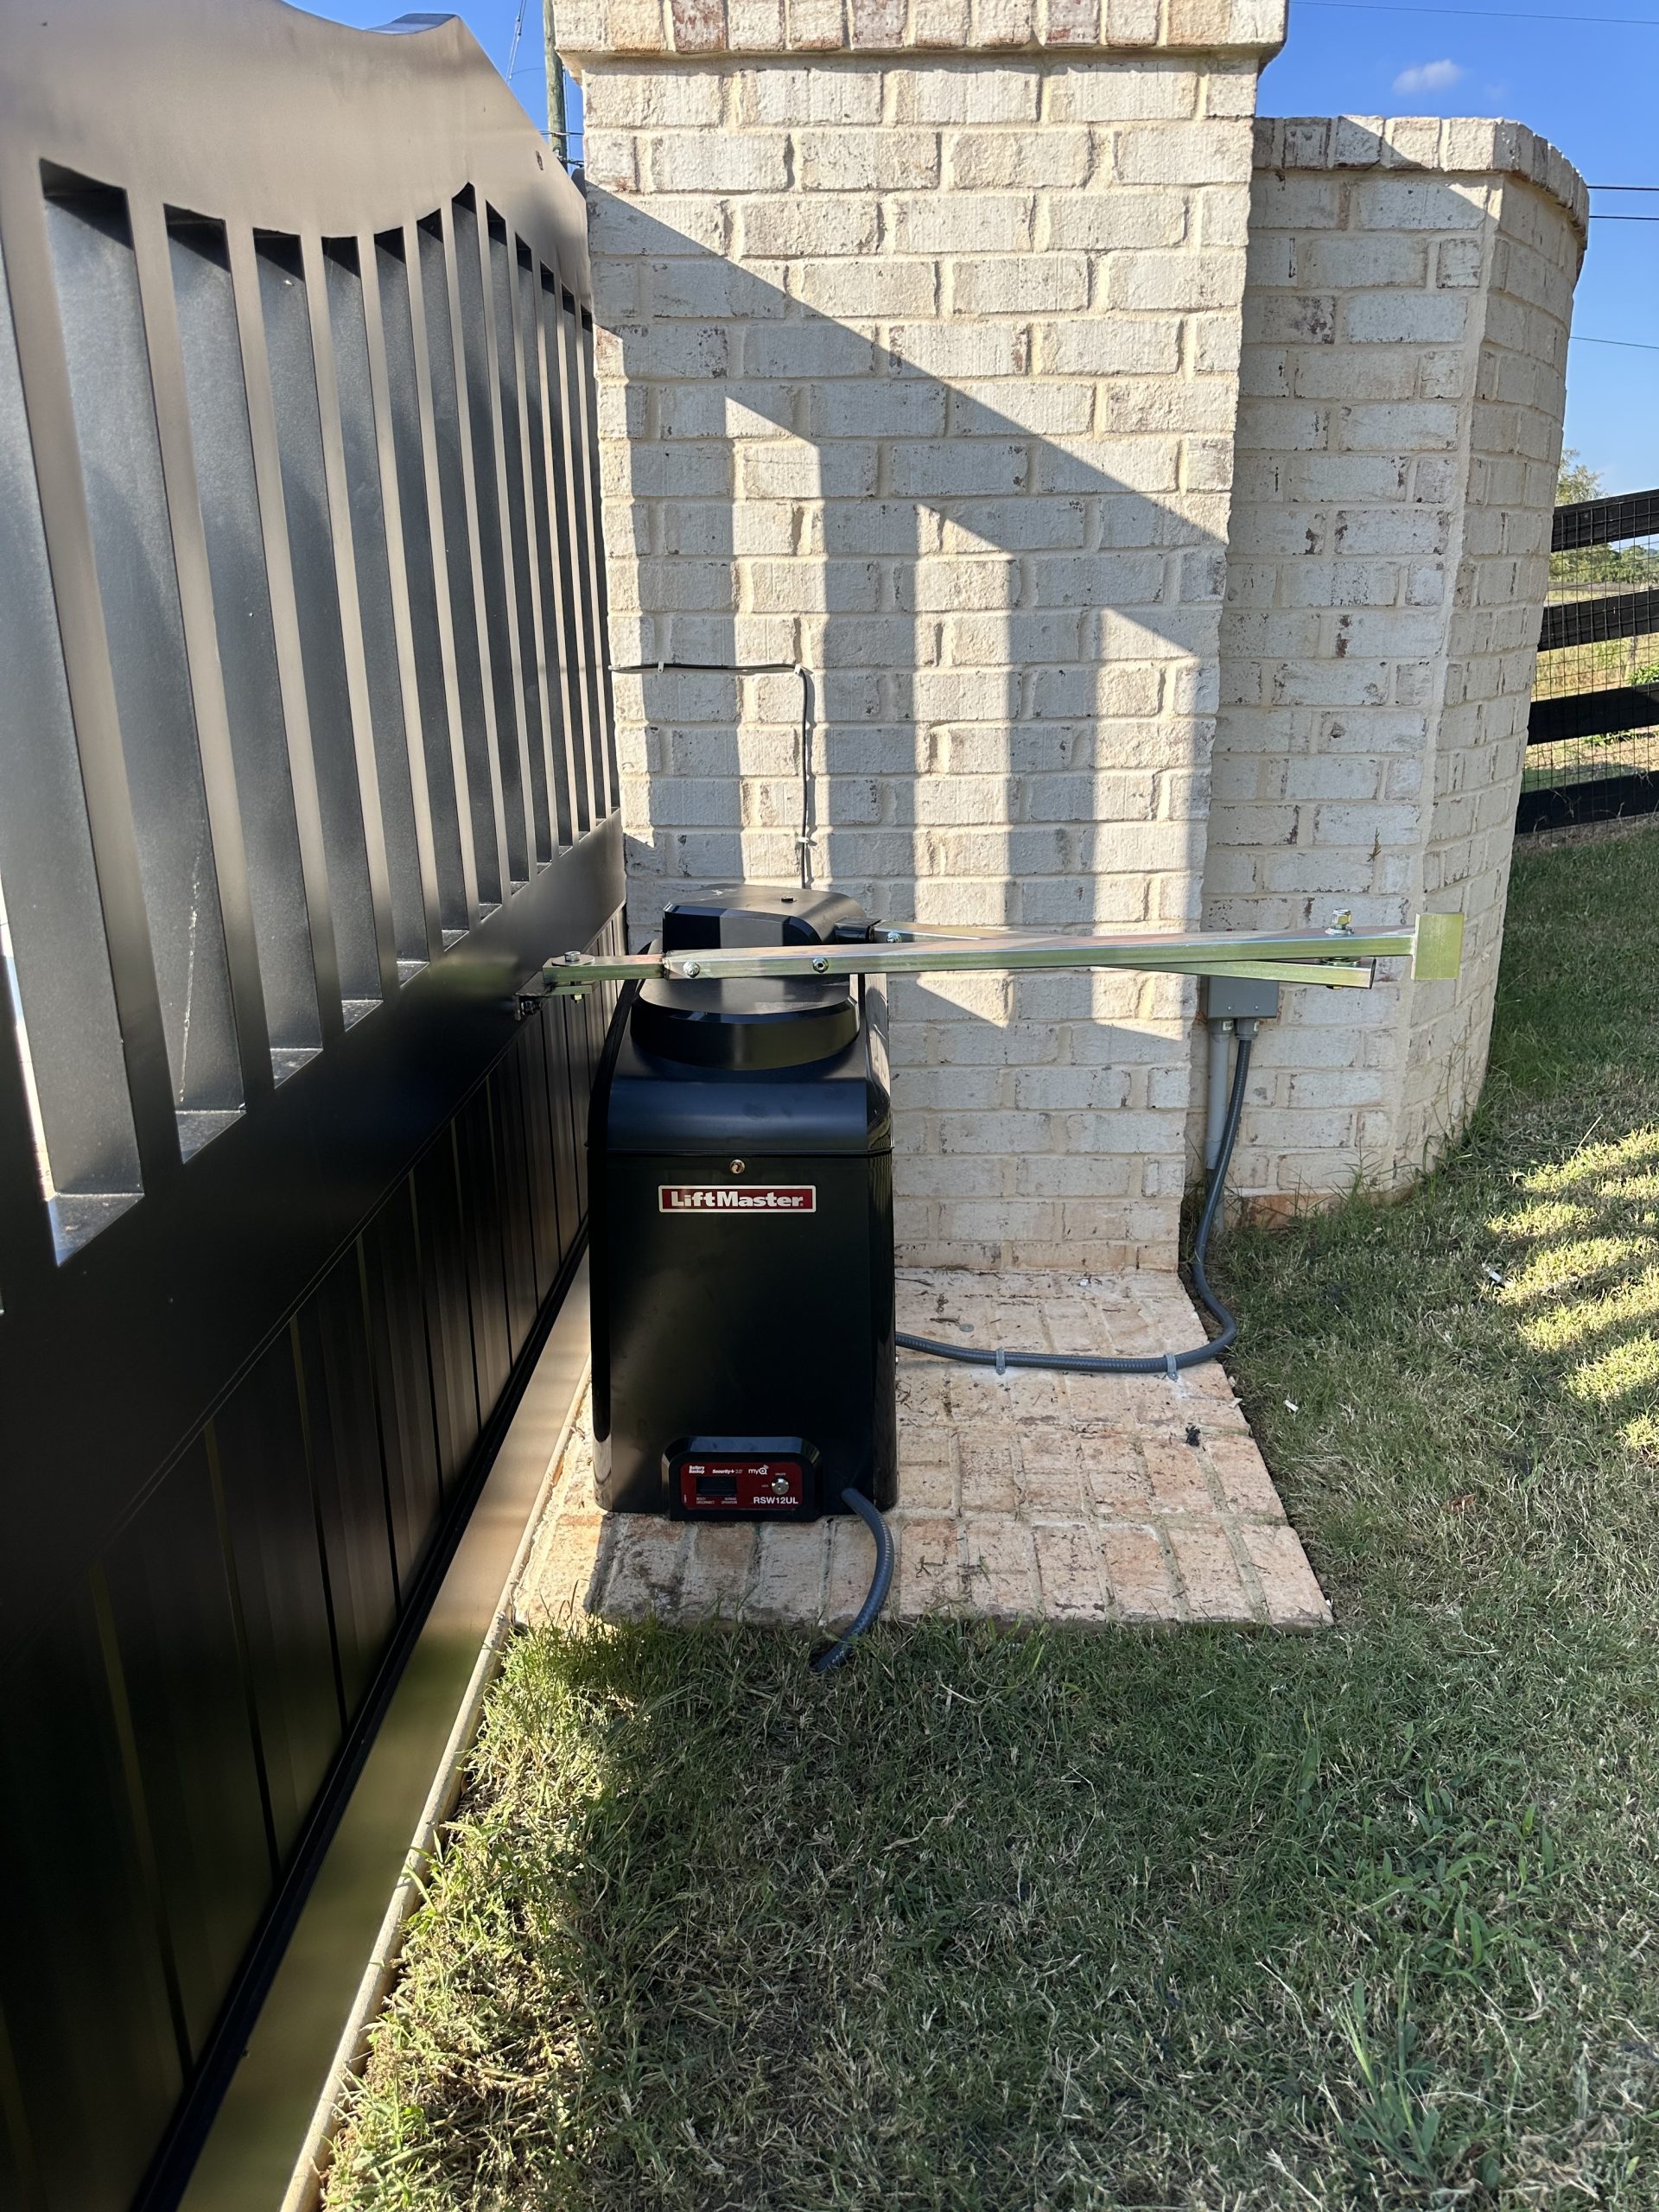
There are two main types of automatic gate openers: swing and slide.
-
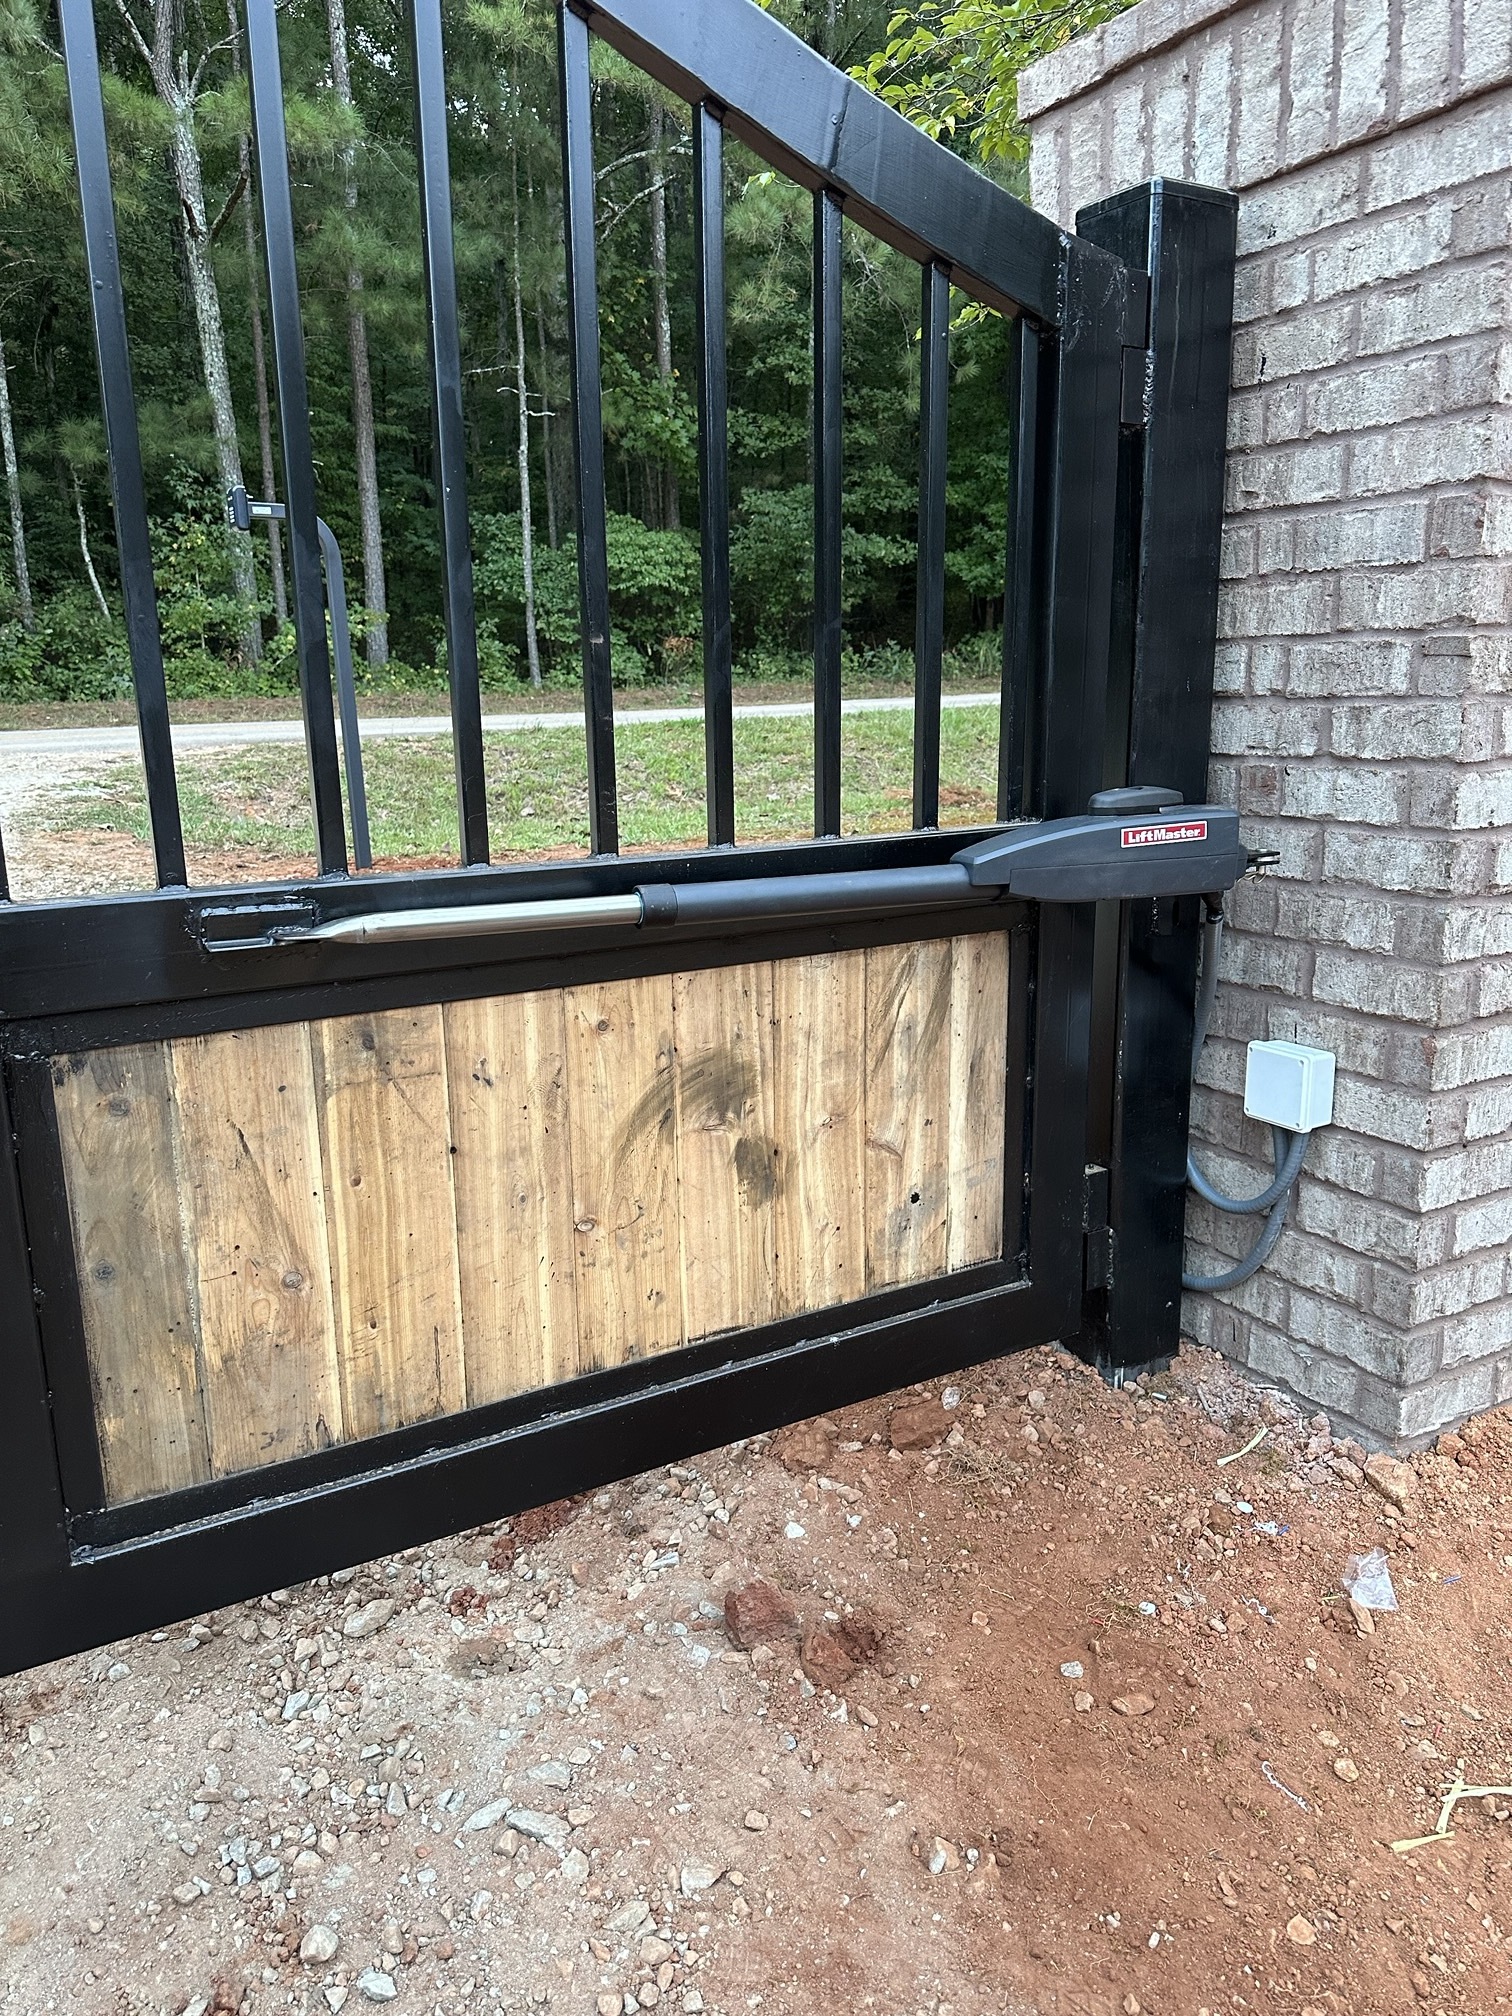
- Swing Gate Openers: Perfect for traditional hinged gates, these use an arm connected to the motor that pushes or pulls the gate open.
- Slide Gate Openers: Designed for gates that slide open on a track, these employ a powerful motor that directly moves the gate along the track.
Sizing Up the Project
Gate Weight
Ensure the chosen motor can handle the weight of your gate. Overloading a motor can lead to breakdowns.
Gate Length
For swing gates, a longer arm might be needed for gates that extend far from the post.
Power Source
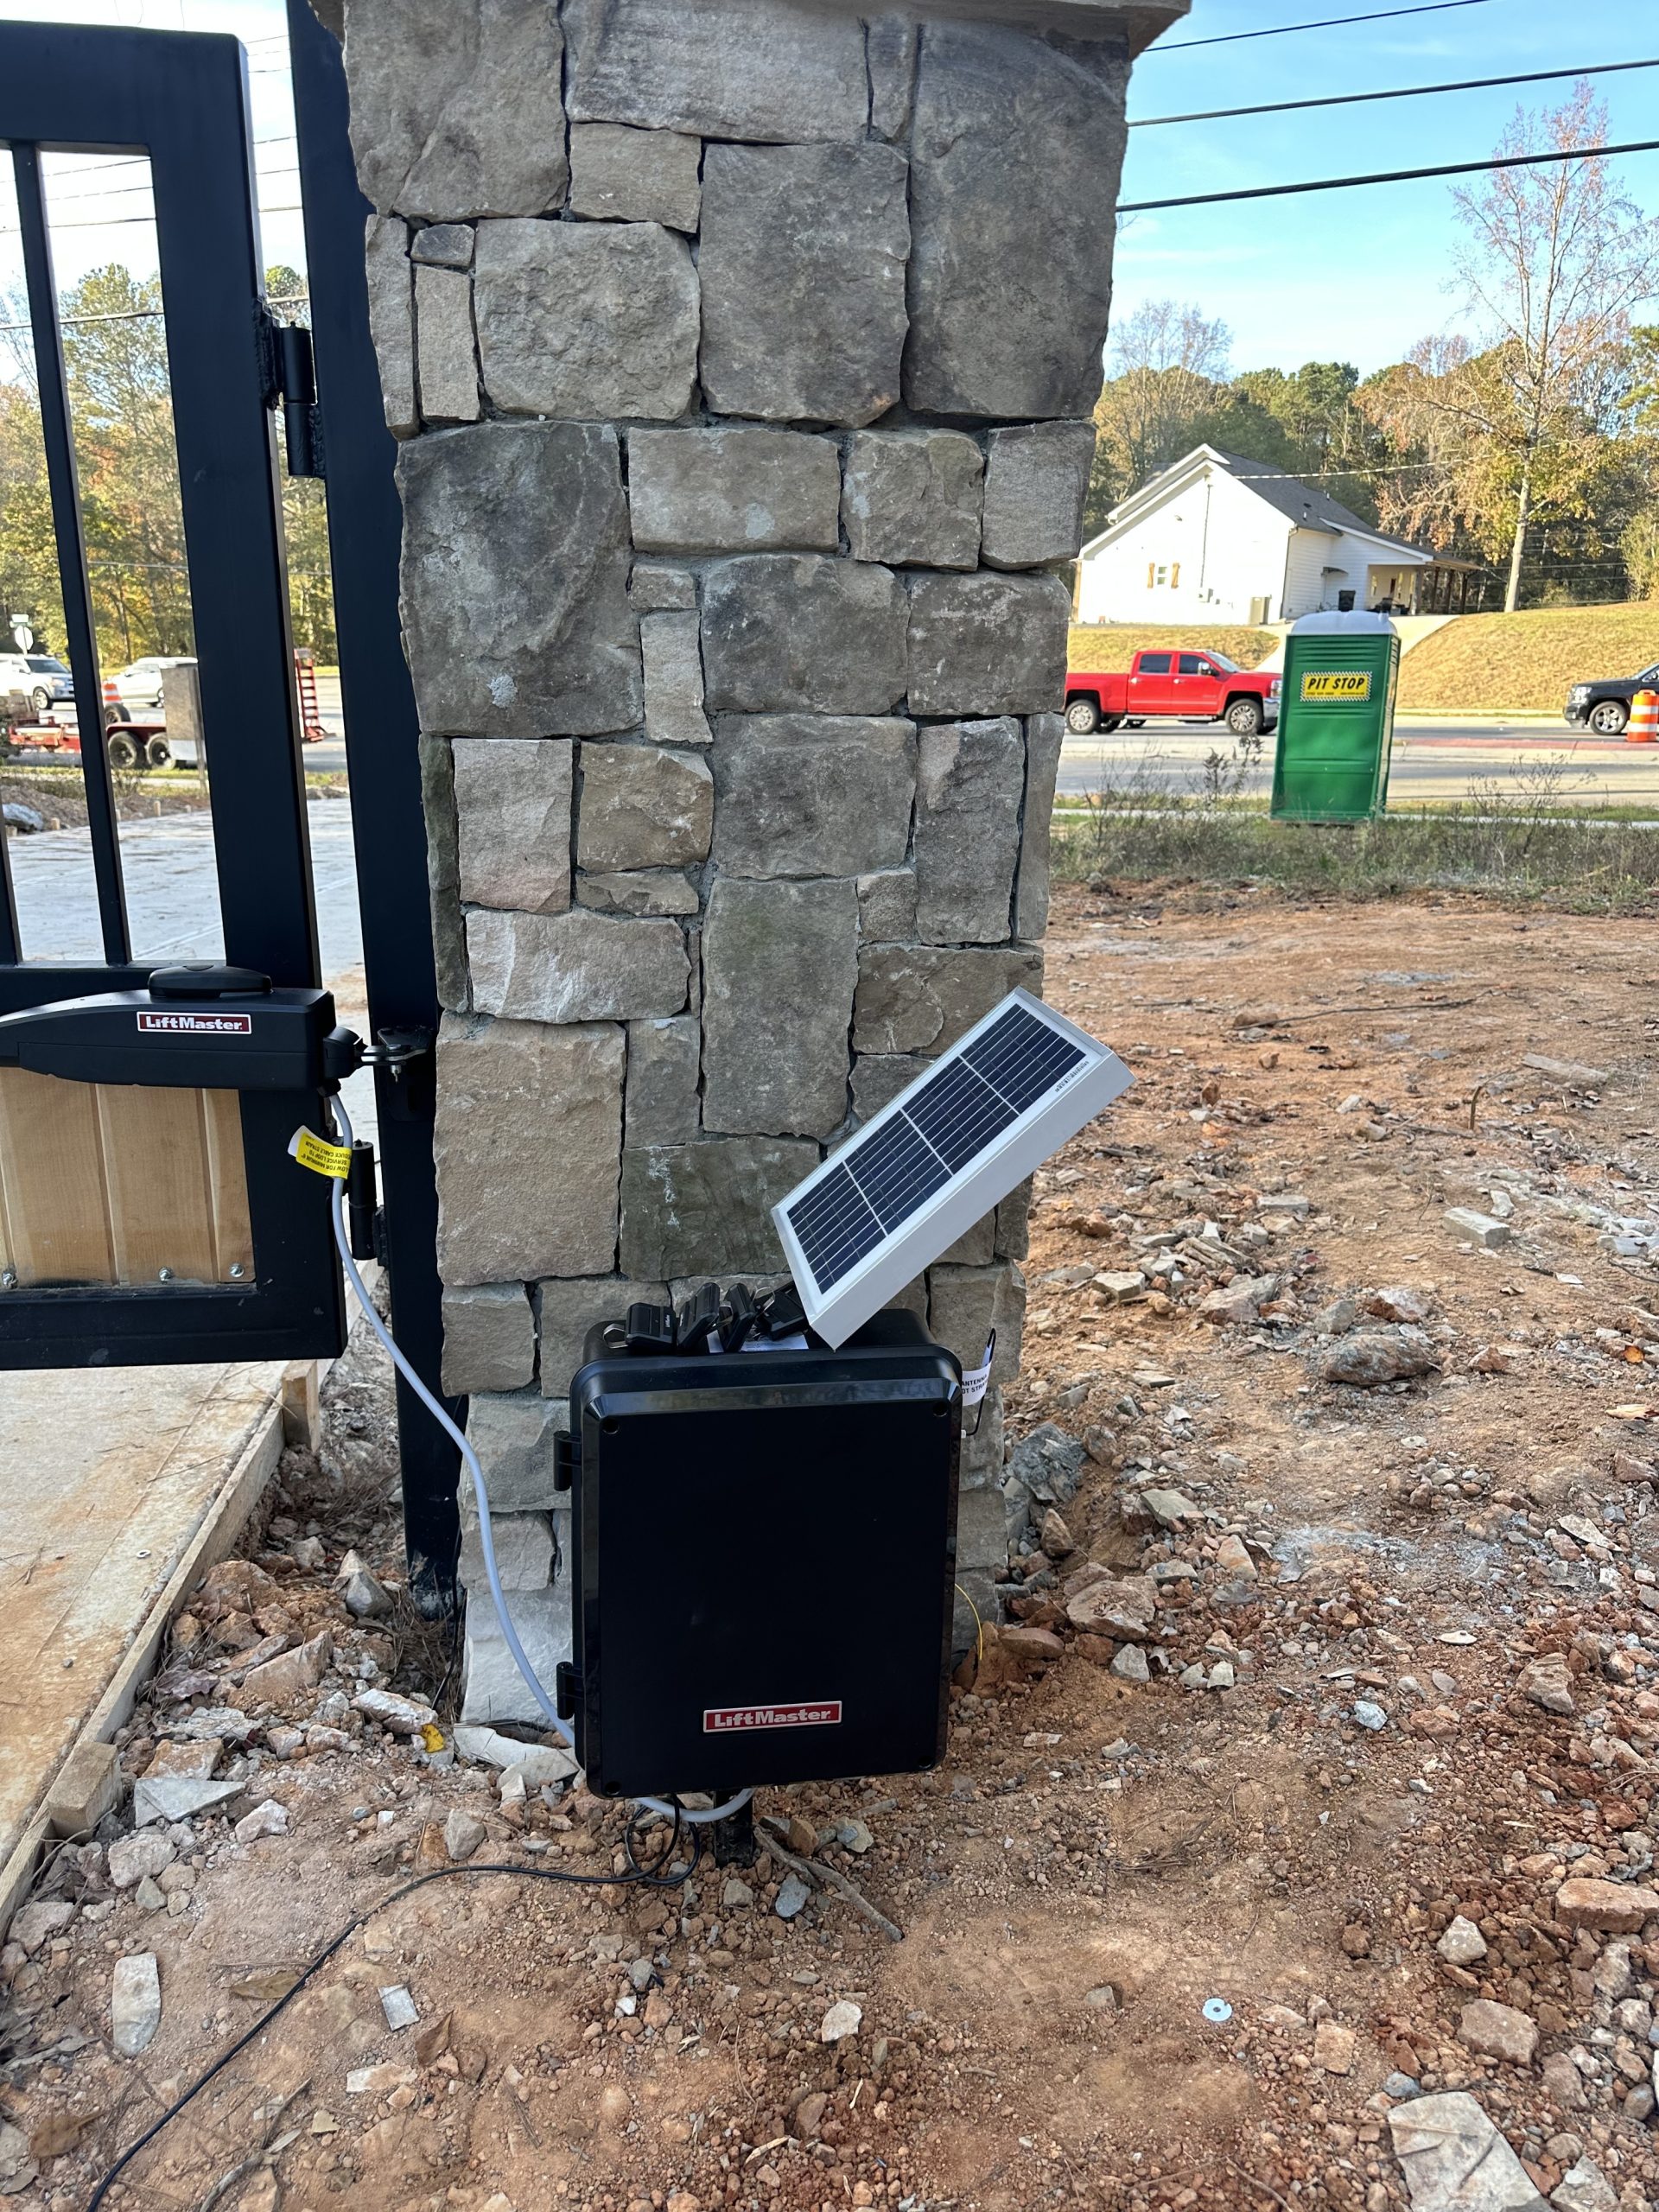
Choose between AC-powered or solar-powered options. AC provides consistent power, while solar offers eco-friendly operation but requires sunlight.
Duty Cycle
The duty cycle refers to the frequency of use the opener is designed for. Consider how often you expect to use your gate opener.
Safety First
Gate motors deal with significant weight and force. Safety is paramount:
- Read the manual thoroughly: Each opener has specific installation instructions.
- Work with a helper: An extra pair of hands ensures stability and prevents injury during lifting and maneuvering.
- Disconnect power: Turn off the electricity before working on any electrical components.
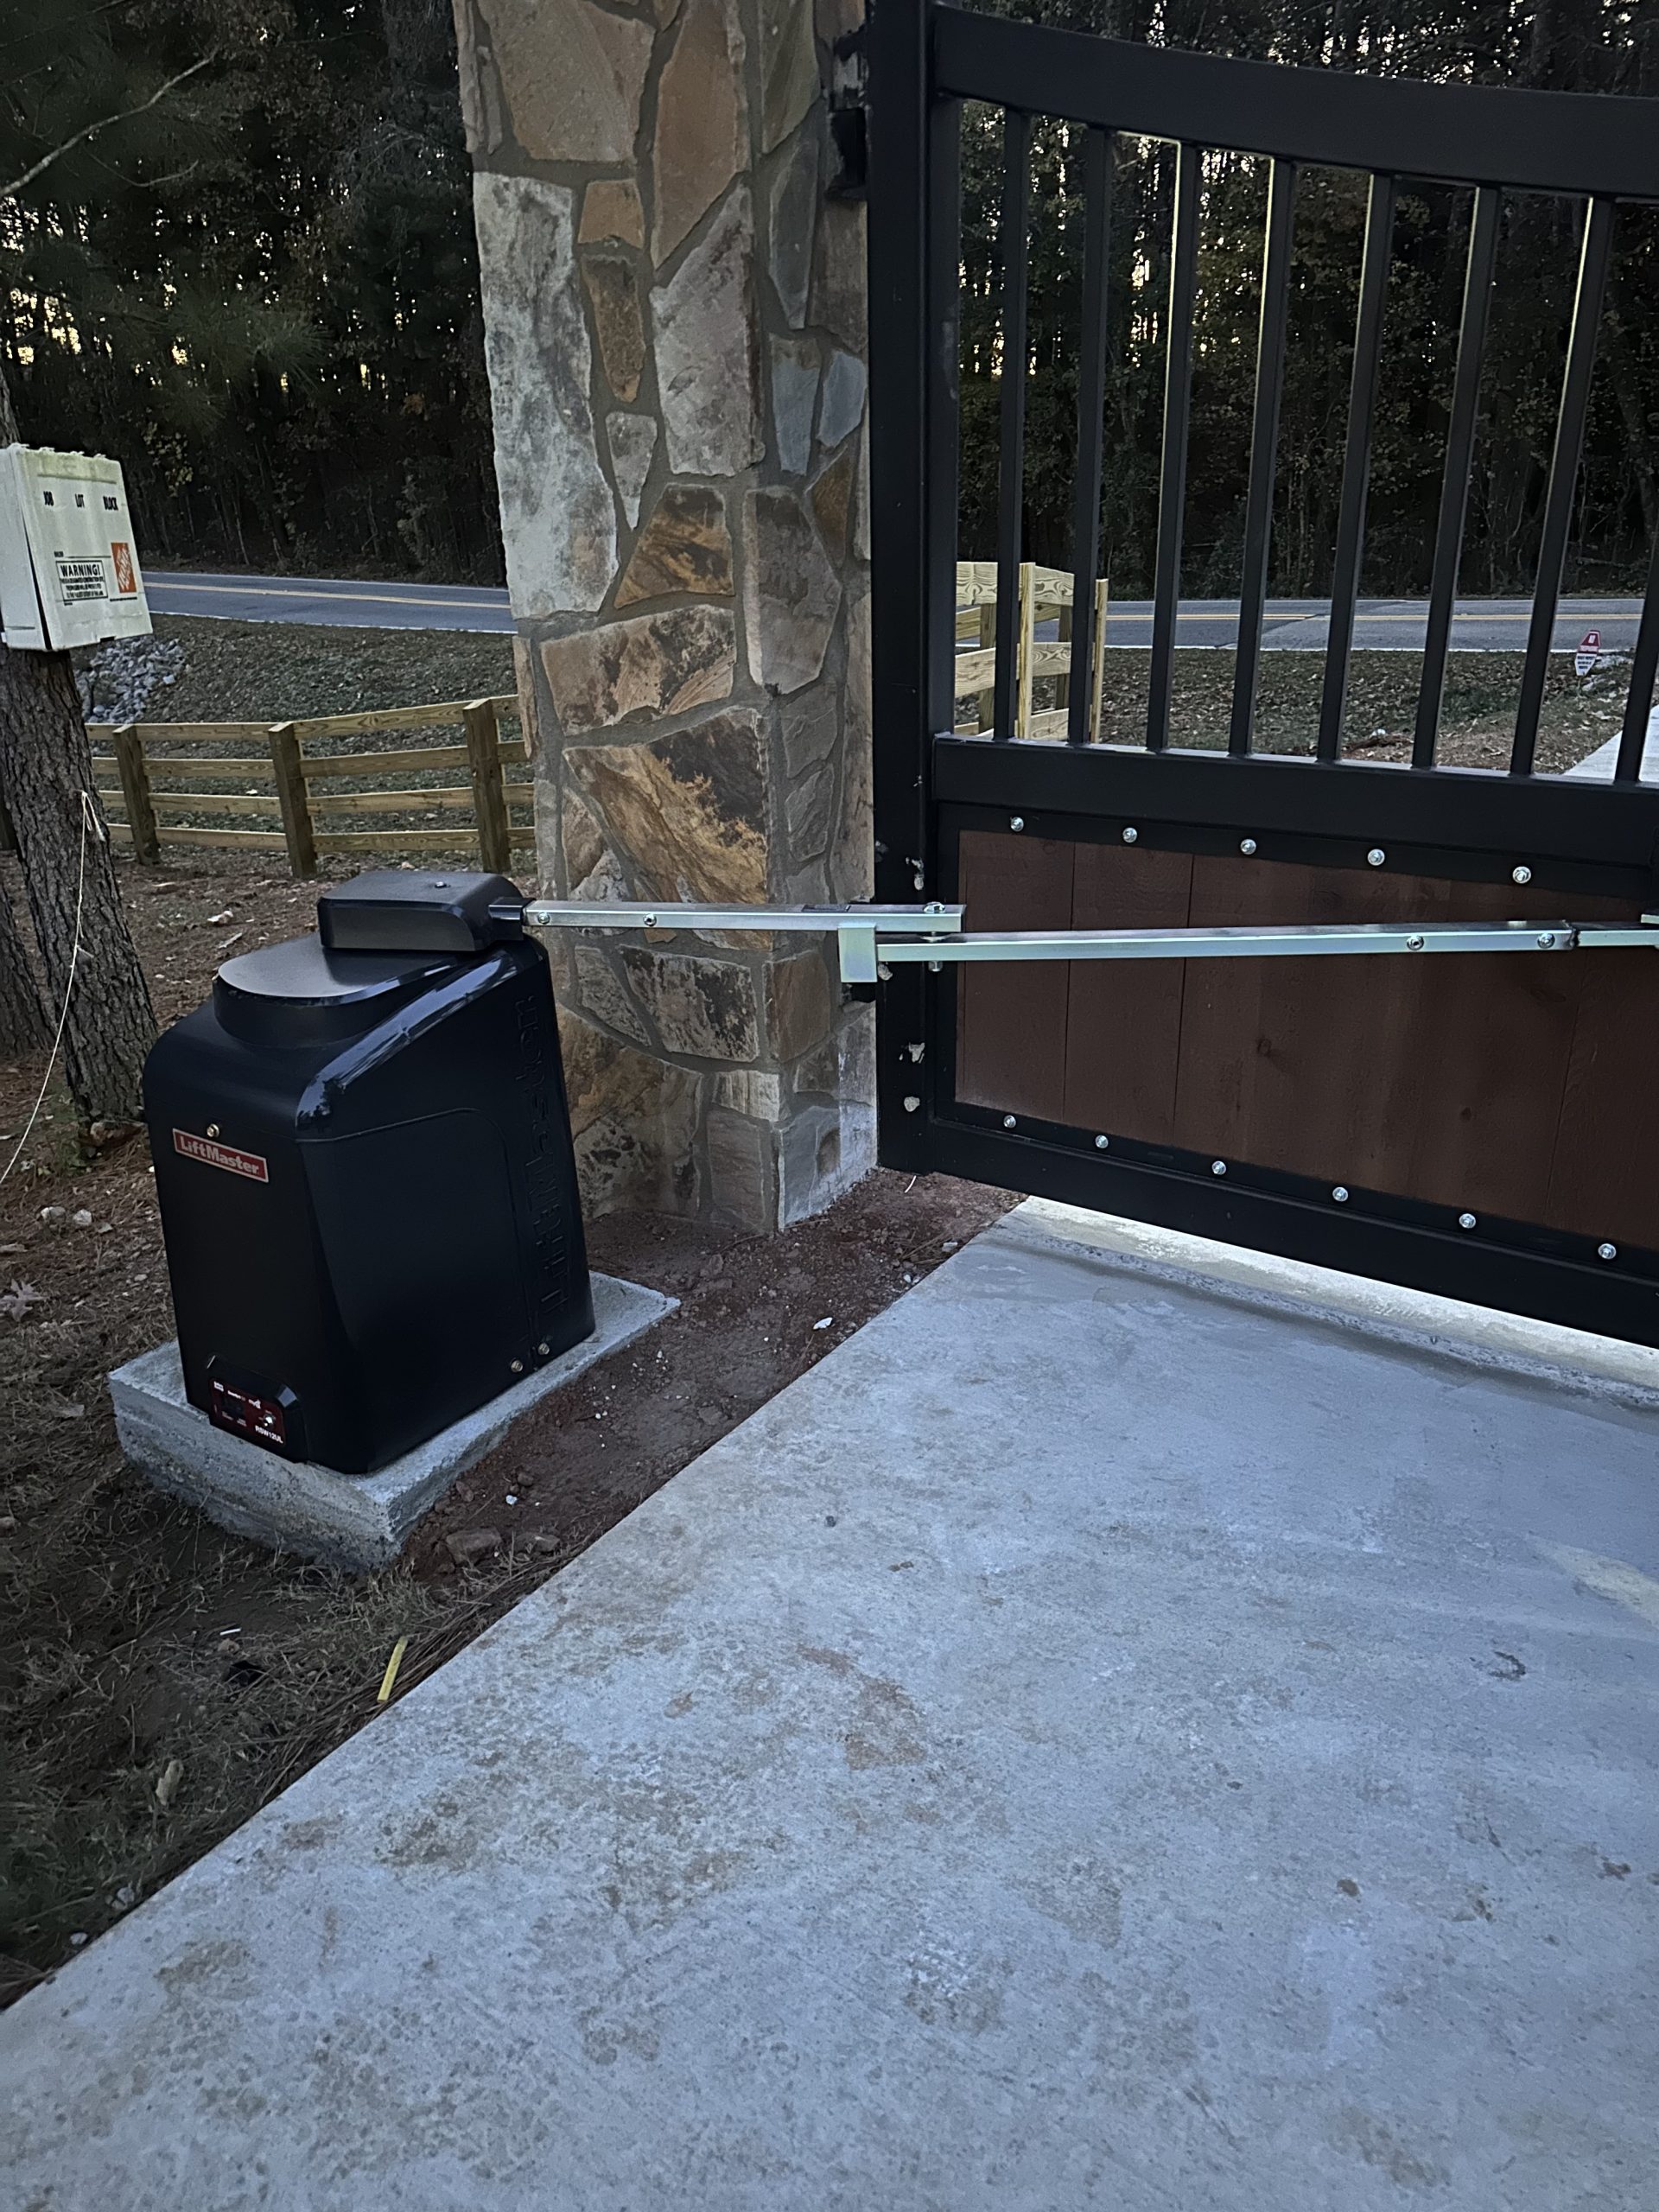

Installation in Action (Swing Gate Example):
- Prepare the Gate Posts: Ensure the posts are sturdy and plumb. Reinforce them if necessary. Mark the mounting positions for the motor bracket and arm bracket on both the post and the gate.
- Mount the Brackets: Secure the brackets to the post and gate using the appropriate hardware (concrete screws or bolts). Double-check everything is level and aligned.
- Attach the Motor: Mount the motor onto its bracket on the post. Tighten all the bolts securely.
- Connect the Arm: Attach the actuator arm to the motor and the gate’s arm bracket according to the manual’s instructions.
- Electrical Connections (AC-powered only): Run electrical conduit from the power source to the motor’s connection point. Following the manual’s wiring diagram, connect the wires to the motor’s terminals.
- Safety Sensors: Install the safety sensors on either side of the gate’s opening according to the manual. These prevent the gate from closing on objects or people.
- Programming and Testing: With the power reconnected (AC-powered only) or the solar panel connected (solar-powered), refer to the manual to program the opener’s settings like opening and closing limits. Test the system thoroughly, ensuring smooth operation and proper safety sensor function.
Seeking Professional Help
While DIY installation is achievable, some situations call for a professional touch. Consider seeking help if:
- You’re unsure about your DIY skills or electrical work.
- Your gate is particularly heavy or complex.
- You require welding or concrete work for post reinforcement.
The Rewards of Automation
A successfully installed gate motor offers immense convenience and a touch of modern luxury. No more struggling with the gate, especially during bad weather. The added security of a controlled entry point is another bonus.
Any Questions?
Write or Call Us.
We Will Write Back Within 12h.
Thank you for your interest. Leave us a message and we will get back to you promptly!
Address
Atlanta, GA
Call Us
(470) 713-8446
